Rachel Levy

Suppleness Exercises for Dressage

Suppleness Exercises for Dressage

Do you need some great suppleness exercises to improve your horse’s way of going? So often as a dressage judge, I see horses struggling to perform movements fluidly due to stiffness. Here are three of my most trusty suppleness exercises and how to do them…


  1. Extra-bendy 10m circles – In Walk

This involves riding 10 metre circles, where the forelegs follow the circle line and you push the hindquarters out to the outside of the circle in order to get the horse moving almost laterally around the shape. Depending on level of training, you can build up how lateral you ask your horse to be. It might help to think shoulder in for the positioning, but your aim is to get the hind legs crossing over and the horse stepping well underneath it’s body with the inside hind leg, rather than achieving a lot of front leg crossing and your horse going crab-wise around the circle.

You can concentrate on one rein at a time, riding circles for a few minutes one way then changing the rein with a free walk to allow them to stretch between exercises.

Don’t go round and round the circle continuously, that would be a bit much to ask. Instead, ride around the school well inside the track and start a circle as you approach each corner. The inside track is important to give you space to push the hindquarters out without hitting the edge of the arena. If a circle every corner feels too much, do opposite corners, and focus on riding very straight on your inner track down the long sides.

This is a great exercise for the warm up because it’s done in walk. Suppleness exercises can be included in the warm up, just allow your horse at least 5 mins to walk on a loose rein first before picking up the contact. With older or stiffer horses, you can also ride some larger circles in walk for a couple of minutes first to make sure they’re ready to start on smaller, tighter lines.


2. Super Charged Serpentines – In Trot

Your regular three loop serpentine has a lot going for it, but after a while, it needs to be spiced up to keep delivering results where suppleness is concerned. Once your horse finds normal serpentine turns easy to negotiate with the correct bend, it’s time to up the ante.

I have a few different ways to do this…

  • Increase the number of loops – the simplest way to increase the difficulty of a serpentine is to make it a four, five or even six loop, depending on the size of your arena. Challenging yourself to see how many loops you can fit in is actually a fun game too, but make sure you aren’t compromising on quality of your turns. Your horse still needs to flow from one bend to the next, with no loss of rhythm or impulsion.
  • Add circles into your loop ends – So for a three loop serpentine, you would ride three circles, one in each of the loops of the serpentine. The circles can be a prescribed size, usually 10 metres, or the diameter can fill the width of your serpentine loop. Make sure you don’t overshoot the size of the circle, or let your horse fall in. Concentrate on riding accurate circles with bend through the horse’s body. Be careful when you finish a circle, it’s easy to mess up the change from bend to straight and ride a wavy line across the centre line.

3. Eternal Loops – In Canter

Shallow loops are great suppling exercises in canter. Ride a curve in off the track and then back out to it in the space of a long side. If you’re in a long arena, or your horse is more advanced, try two loops in the space of a long side. Your aim is to introduce a slight bend in the horse’s body, without them changing legs (which is a sign of stiffness, rather than something to be celebrated, in this exercise!).

They’re ‘eternal’ because you can practice several in a row as you go around the arena, staying on the same rein, just don’t overdo this! Make sure the loop is symmetrical, so the furthest point away from the track is as you are level with the EXB line. Experiment with how deep you can make your shallow loops, you’re developing counter canter. If your horse is proficient at counter canter, you can still get a lot out of this exercise as an initial suppler before going into counter canter exercises.


Need more help with suppleness exercises? Feeling a bit bamboozled? Get in touch with me on 07966248916 to chat about your goals and arrange a training session for you and your horse.

Looking for dressage tips? Here’s my insider’s guide to improving your dressage score, Dressage – A Judge’s Eyeview

Posted by Rachel Levy in Articles, 0 comments
How to check your trotting diagonal

How to check your trotting diagonal

Are you unsure how to check your trotting diagonal? Do you always find yourself on the wrong one, or is your instructor always asking you to change it? Why is it important to be on the correct diagonal anyway?

I’ve been asked all these questions so I’m here to clear up the confusion about trotting diagonals today. First up:

What are trotting diagonals?

Trot is a two-beat pace. Horses move their legs in two diagonally opposite pairs separated by a moment of suspension; beat one: right fore and left hind move simultaneously, followed by beat two: left fore and right hind move simultaneously.

Your trotting diagonal in rising trot is dictated by which of these two beats you are rising on, and on which you are sitting in the saddle. So why does it matter which one you’re sitting and rising on?

Why it’s important to be on the correct trotting diagonal

When we’re riding a horse, we are adding our weight to its natural weight, and that weight is distributed down through its four legs. When standing still, more weight is distributed over the front legs. The horse’s centre of gravity is slightly in front of the middle of it’s body, due to having a neck and head sticking out in front of the front legs. Laterally, the weight should be distributed evenly though. In other words, there should not be more weight over the left side of the horse than the right.

Once the horse is under saddle in an arena, this lateral weight distribution changes. An arena is a reasonably small space with relatively frequent requirements for turning at the four corners, before we even begin to consider school movements such as small circles, for example. When a horse is turning right, it steps underneath its body with the right hind leg and bears more weight on this leg.

When this is happening, the rider wants to be in the saddle, balanced and secure, not up on their stirrups being thrown to the outside by the forces of turning. Therefore, we sit on the beat when the inside hind leg is underneath the horse.

So how do you check your trotting diagonal?

To check you are sitting when the inside hind leg is underneath the horse’s body, you can look at what the horse’s outside shoulder (and therefore foreleg) is doing. When the inside hind moves, so does the outside fore. When the inside hind moves forward to take the weight, the outside fore is simultaneously moving backwards. So you need to be sitting when the outside fore is moving back.

You can see this happening. When the outside shoulder is going back, you should be sitting, when it is coming forward, you should be rising. Every time you change the rein, you also need to change your diagonal, by sitting in the saddle for an extra beat.

Posted by Rachel Levy in Articles, 0 comments
Client Focus – BD Elementary Freestyle

Client Focus – BD Elementary Freestyle

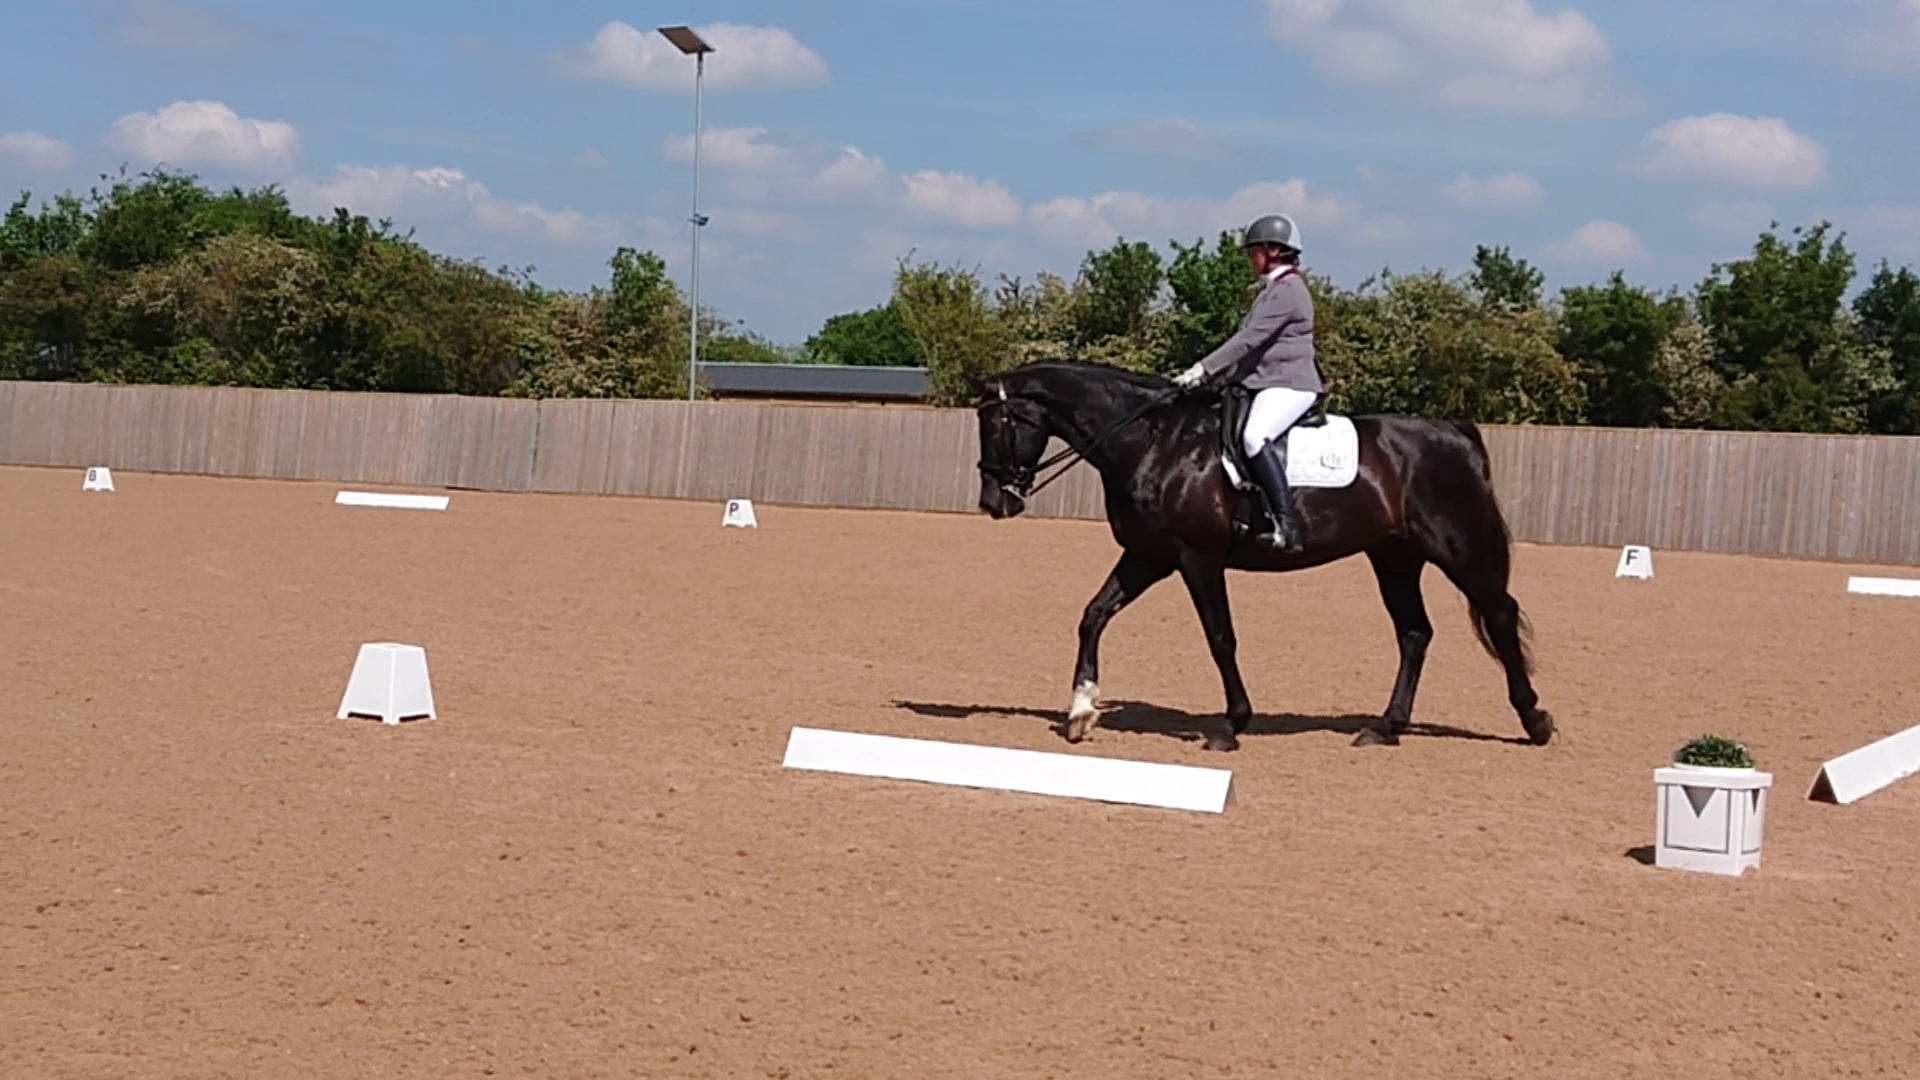
Sam and Nico produced a super Elementary Freestyle to music test at Silverleys Equestrian last week to bag 2nd place and qualify for the Area Festival!

Nico excelled in his canter work, and they produced a rhythmic, flowing test. Their ‘Bond themes’ music suits Nico perfectly. Sam did a fantastic job of hitting the accents, and scored really well on musical interpretation.

Massive congratulations guys!

Posted by Rachel Levy in Blog, 0 comments
Do you change your whip in a dressage test?

Do you change your whip in a dressage test?

When training, you should always carry your whip in your inside hand, so the left hand if you’re on the left rein, and right hand when on the right rein. Therefore, you change it over every time you change rein. But it’s different when you’re riding a dressage test.

If you change your whip in a test, it looks untidy and is a distraction for the judge. Also, you might compromise the accuracy of a movement whilst your reins are in one hand.

As you go up the levels, rein changes become more frequent, have to be completed in faster paces, and are included in more complex sequences, with no time before the next movement begins. You could end up looking like a baton twirler, flipping your whip from one side to the other all the time. Instead, pick a side for your whip and stick to it.

What about the salute?

Every test finishes with a halt and salute on the centre line facing the judge. At the end of your test, with your horse in a secure halt, you should display immobility first before saluting. This just means wait a second or two in the halt, showing off how well your horse can stand, before saluting the judge. The salute consists of dropping one hand down by your side and simultaneously giving a nod of the head.

You don’t salute with your whip hand. So, if you choose to carry the whip in your right hand, for example, here’s what to do when it comes to the salute.

Keep the whip on the right hand side of the horse, and take the top of the whip’s handle (along with both your reins) in your left hand, leaving your right hand free to drop down by your side in your salute.

I’m here to answer your training and horse care questions. Have a question? Leave it as a comment on the bottom of this post and I’ll do my best to answer it for you in the next post. And if you like my blog, please sign up for email updates.

Happy riding!

Posted by Rachel Levy in Articles, 0 comments
Showjumping Training Clinic

Showjumping Training Clinic

We enjoyed blazing sunshine for this showjumping training clinic with some great pony clubbers.

These riders have upcoming shows to prepare for, and are competing at between 70cm and 90cm. They have quite well-established positions, so after a warm up over a single fence, I concentrated on course riding skills, including related distances, riding accurate lines through turns and dogleg combinations, as well as tackling scary fillers.

Horses Lose Confidence too

I haven’t taught these combinations before, but was told one pony has had an issue with confidence. Sure enough, he was stopping or running out at the beginning of the session. If he wasn’t on a perfect stride, he wouldn’t take off, even over small fences. His canter was forward and active, and he is generally a very willing chap. But when he started panicking, he would rush into a fence and then stop when he arrived on a wrong stride.

Working on the Solution

The rider was great, she never became frustrated, and has a good, secure seat. I advised her to take her time between fences. ‘Let the fence come to you’ is an old favourite of mine. But it works by preventing the rider getting even slightly in front of the movement. Once the pony had a bit more time to think, and felt able to chip in a short stride if need be, he started popping round the course easily. His tendency, as I added more fences to make longer courses, was to start rushing again. I reminded the rider to rebalance him throughout, but with her leg on, to maintain the energy in the canter and a consistent canter rhythm that meant he always felt able to take off.

Success!

He was completing full courses by the end of the session, at a slightly lower height than the combination have competed at before. It was important for them to take a step back today, and work on developing confidence, to have a firmer grounding to build on for the future.

Big thanks to the newly-opened CCR Equestrian for providing a fantastic course of jumps and superb surface. We all enjoyed ourselves immensely.

Posted by Rachel Levy in Blog, 0 comments
Dressage – A Judge’s Eye View

Dressage – A Judge’s Eye View

Sixes again?!!

You’ve finished your tests and your lovely horse is on the trailer/lorry ready to go home. It’s been a successful day – neither you nor your horse had a meltdown, you didn’t forget your test, and it felt like it went pretty smoothly.

Then you get your score sheet and your heart sinks a bit at the distinctly average marks you’ve ended up with. If you always seem to get the same marks (and rarely break the 7 barrier!) or you find similar (and perhaps incomprehensible!) comments from the judge each time and feel you’re not sure how to improve, you are not alone!

My clients bring me this issue on a regular basis so don’t despair, because there are actually lots of easy, quick ways you can improve your scores without your horse having to turn into Valegro overnight! After my most recent outing judging Preliminary 12 and Novice 27 at a Riding Club competition, I thought I’d put together some tips on best practice, and explain how to avoid the mistakes I commonly see when judging.

What was I looking for overall?

The Horse

Forward going, calm horses with active, correct paces will score better at any level. They need to be able to perform the movements easily, with one movement flowing into the next without a loss of impulsion. Your horse also needs to demonstrate a degree of bend, following the lines of turns and circles through their whole body.

The Rider

You have to do your bit too by riding as accurately as you can. It’s all too easy to lose marks just by riding transitions a little early or late, missing your centre lines, or riding less than perfect school movements. In addition, correct diagonals and a balanced, effective position will not only improve the collective mark you receive for your riding, but also produce a better overall performance from your horse.

Tips for Preliminary Level

One common area for improvement at Prelim level is the free walk on a long rein. I often see riders drop the reins altogether, producing a loose, not a long, rein. Instead, maintain a contact and lengthen your reins gradually to encourage your horse to stretch forward and down on the end of the rein. Ensure your horse is still walking actively forward too, as I see a fair bit of dawdling!

Preliminary 12, in particular, contains some of the more challenging movements seen at Prelim level. The half 10m circles in walk, and changing the rein in canter, with a change of leg through trot, are both quite tricky to do well. Accuracy of circle size and shape, and a smooth change of bend on the centre line (right in front of the judge!) are the key to successful half circles.

For the canter change of rein across the diagonal, avoid a potentially unbalanced transition to trot by preparing early. Half-halt well before the X marker to gather the canter together, keeping enough leg on to prevent your horse breaking into trot. Then when you ride the actual transition, it will be much smoother, as you came out of a more balanced canter. Practise varying the canter when schooling, sending your horse on, then bringing him back without letting him break into trot, to develop the canter balance.

How to Improve at Novice Level

At Novice level, a lot of riders lose marks in the performance of the medium paces. Usually, not enough difference is shown between working and medium trot and canter, so really go for it with the medium to achieve maximum impact. Remember, medium paces are about lengthening the stride, rather than quickening the tempo, which can be easier said than done, so enlist the help of your instructor to ensure you’re doing it right.

Giving and retaking the reins is another area that causes confusion. You need to be quite obvious with this to gain marks. Move your hands forward towards your horse’s ears, slackening the reins completely, before replacing them and taking up the contact again. Move your hands, don’t let the reins slip through your fingers, and hold the position for at least two or three strides so your judge doesn’t blink and miss it!

General Tips

LEARN YOUR TEST! I cannot stress this enough! Even with a reader, plenty of competitors still mis-hear instructions and go wrong due to the pressure of the situation. If you do make a mistake however, don’t give up! Your judge will restart you, so take a deep breath and forget about it. Only that one movement will be affected, so concentrate on riding the rest of the test.

It’s a great idea to get someone to film your test so you can review your performance afterwards, especially if you do so with an instructor, who can help you analyse how you did. In the heat of the moment, it can be difficult to focus on how your horse is going, but afterwards you can match up your score sheet with your video and see exactly what your judge saw.

If you haven’t competed before, don’t be shy. There are so many benefits to having a go at some unaffiliated dressage. It’s an excellent way to boost your confidence and develop the bond with your horse, who will no doubt enjoy getting out and about to a new place. Brush up on any skills you aren’t sure of, and practise your test with your instructor beforehand to ensure you feel in control on the day. A friendly local competition is the best place to start, have a look online or in tack shops for your nearest yards and riding clubs and the events they are running.

Happy Riding 🙂

Posted by Rachel Levy in Articles, 0 comments
Client Focus – Jump Training

Client Focus – Jump Training

I frequently use gridwork when coaching jumping because it has so many benefits for training. It develops balance and position in the rider, good jumping technique and rhythm in the horse, and boosts confidence in both.

Here one of my lovely clients is doing a fantastic demonstration of gridwork. Her pony had a break due to lameness and was gradually brought back into work over the course of a month or so.

This was their first attempt at jumping after the break and I was really pleased with how they did.

Posted by Rachel Levy in Blog, 0 comments
Your Horse Magazine

Your Horse Magazine

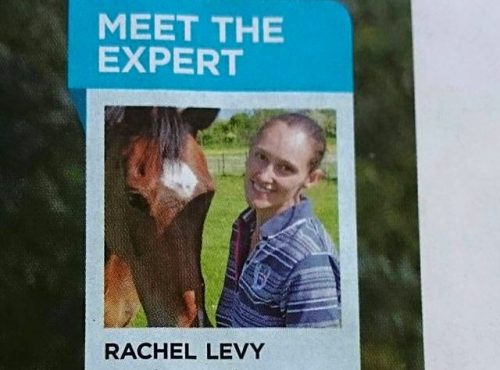
I was delighted to be in Your Horse magazine again, this time in their ‘Meet the Expert’ feature!

I gave an in-depth interview on the subject of fun rides and sponsored riding events and challenges.

Get fit to go the distance

I was asked for advice on how to approach training for, and completing these events, and I discussed how fit horses (and riders!) need to be.

A good rule of thumb is to calculate how long it will take you to complete the distance, and use that as a goal to build up to gradually over your hacks in the months leading up to the event. You don’t need to complete the full distance over and over again before the event, that would be overdoing it.

Bear in mind the pace you will be travelling at, and what is realistic for your horse’s age and general health. Look at the terrain involved, and any natural obstacles you’ll meet along the way and practise these beforehand. Most fun rides will have options where you don’t have to complete jumps and obstacles, but it can be a nice challenge to aim to tackle some or all of them.

On The Day

I also gave tips on what to expect on the day. Look out for your horse behaving differently, as he might be excited to be with lots of other horses and riders, if that’s not something he’s used to. Read all the participant information carefully, ensuring you’re in the right place at the right time for picking up numbers and making the start.

Dressing for the occasion

Make sure you’re adequately dressed, as the weather may turn throughout the event, consider a pack-up jacket, or extra layers, as well as food and water if the ride is sufficiently long, in a backpack or saddlebag. Check out more tips below…

Finally, have fun! These events are very enjoyable if you and your horse are properly prepared. They also work well as a first taste of an organised event, without the added pressure of competition.

Posted by Rachel Levy in Articles, 0 comments
Client Focus – Cross Country Schooling

Client Focus – Cross Country Schooling

What a lovely sunny morning for cross country schooling. Well done Kazan for being mostly a very good boy. And well done Liz for managing him so well in those moments when it was all just a bit too exciting for his little brain!

They tackled several combinations, working on maintaining a consistent rhythm before and after fences, as well as some technical aspects such as light to dark on the ‘wooded path’ combination, and an introduction to ditches.

Liz also wanted to focus on getting Kaz comfortable going through the water, and completed several different combinations at the complex. Here they are doing the water with a step up on exit.

Posted by Rachel Levy in Blog, 0 comments
Equine Specific First Aid

Equine Specific First Aid

I managed to grab a quick look around the smart new facilities at Wellington Riding Centre whilst completing my first aid refresher course.

We all enjoyed a fabulous lunch in their newly refurbished cafe too!

Posted by Rachel Levy in Blog, 0 comments